Leslie Wyatt
Film Photography
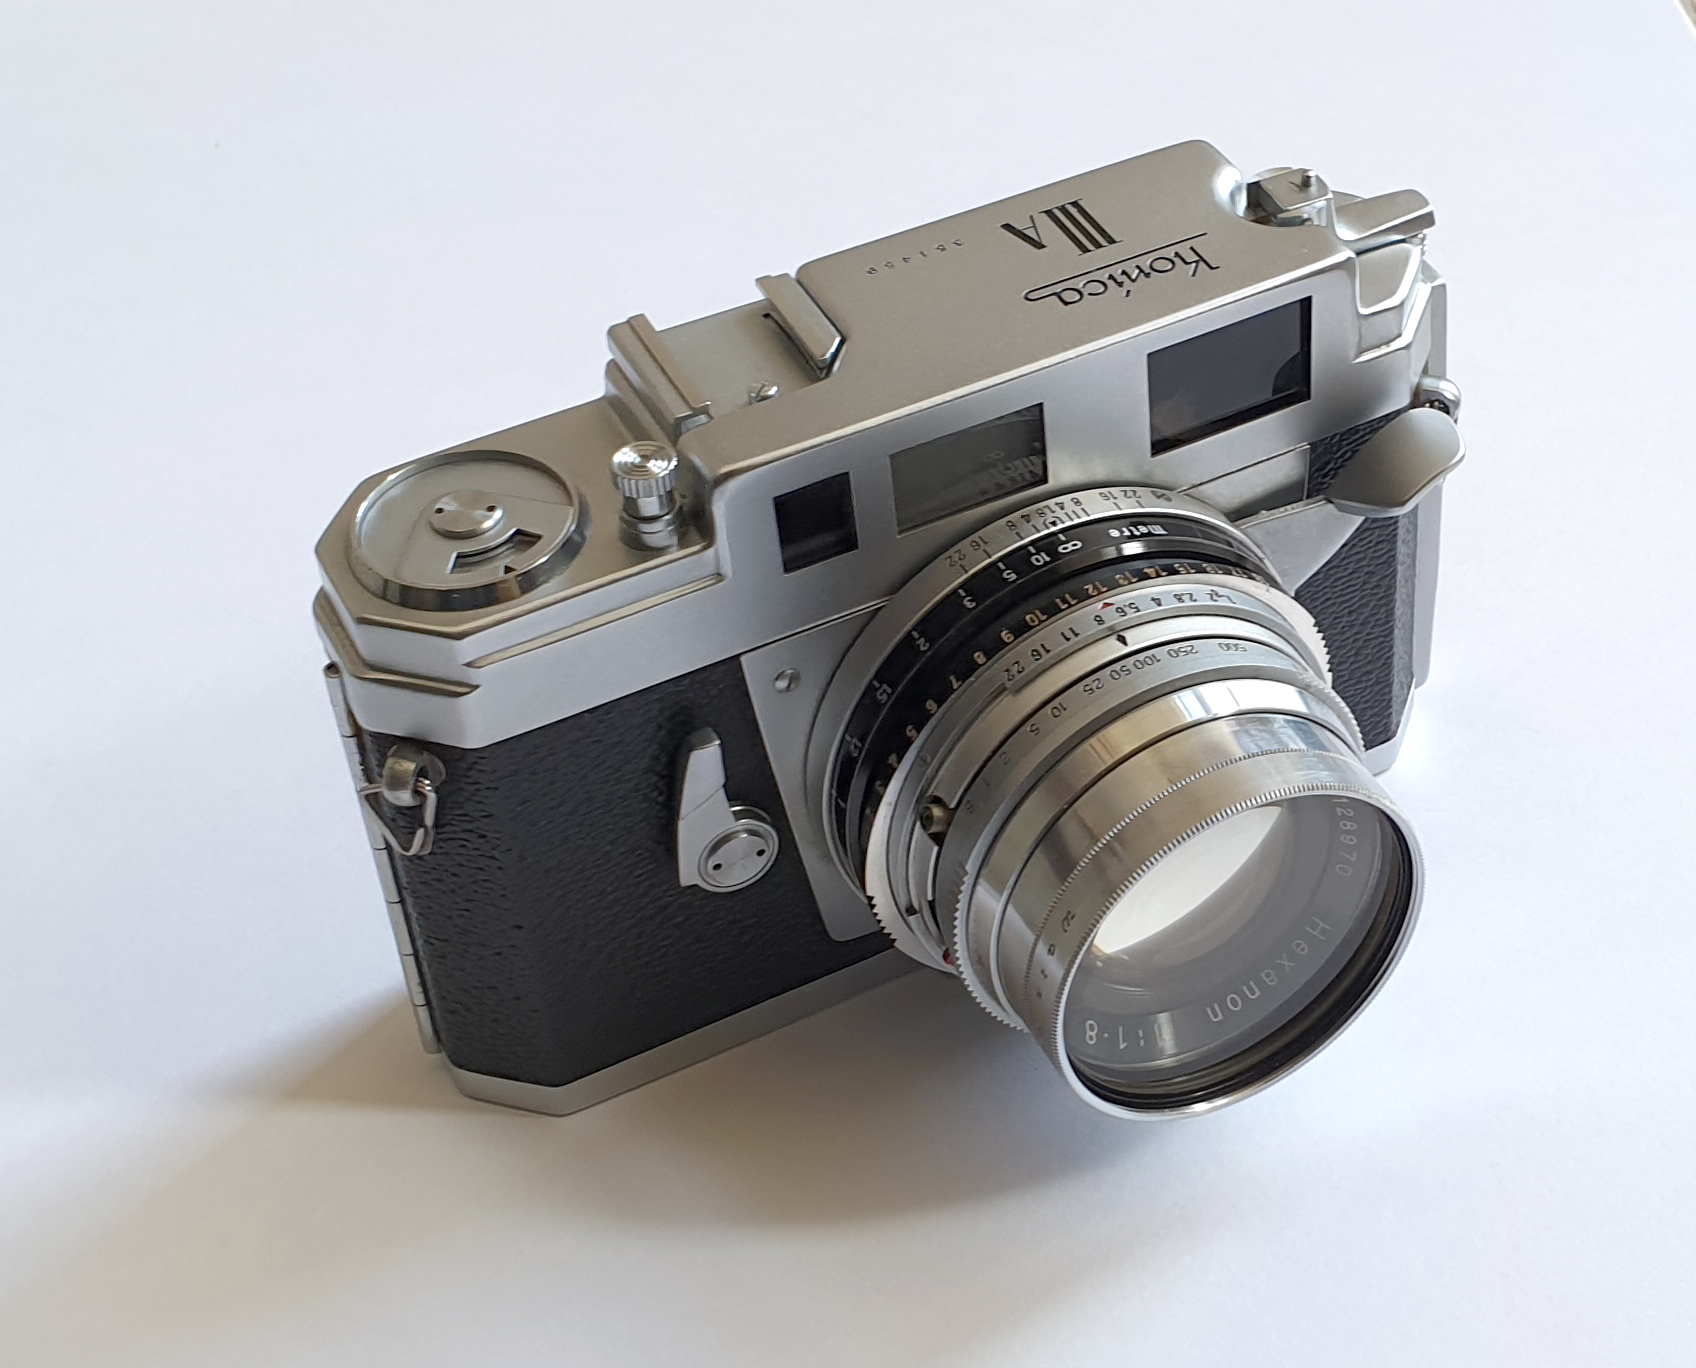
I like this camera. It is a robust, all metal mechanical camera,
a beautiful piece of engineering and at the time, quite an innovative
design. Built around 1960 it is in mint condition and works perfectly.
OK the rangefinder and viewfinder optics were messy with fungus but
more on that later. The bright viewfinder is an incredible 1:1 ratio
and incorporates moving frame lines to accommodate perspective changes
when focussing. It has a lovely fixed Hexanon 6-element 50mm f1.8 lens with
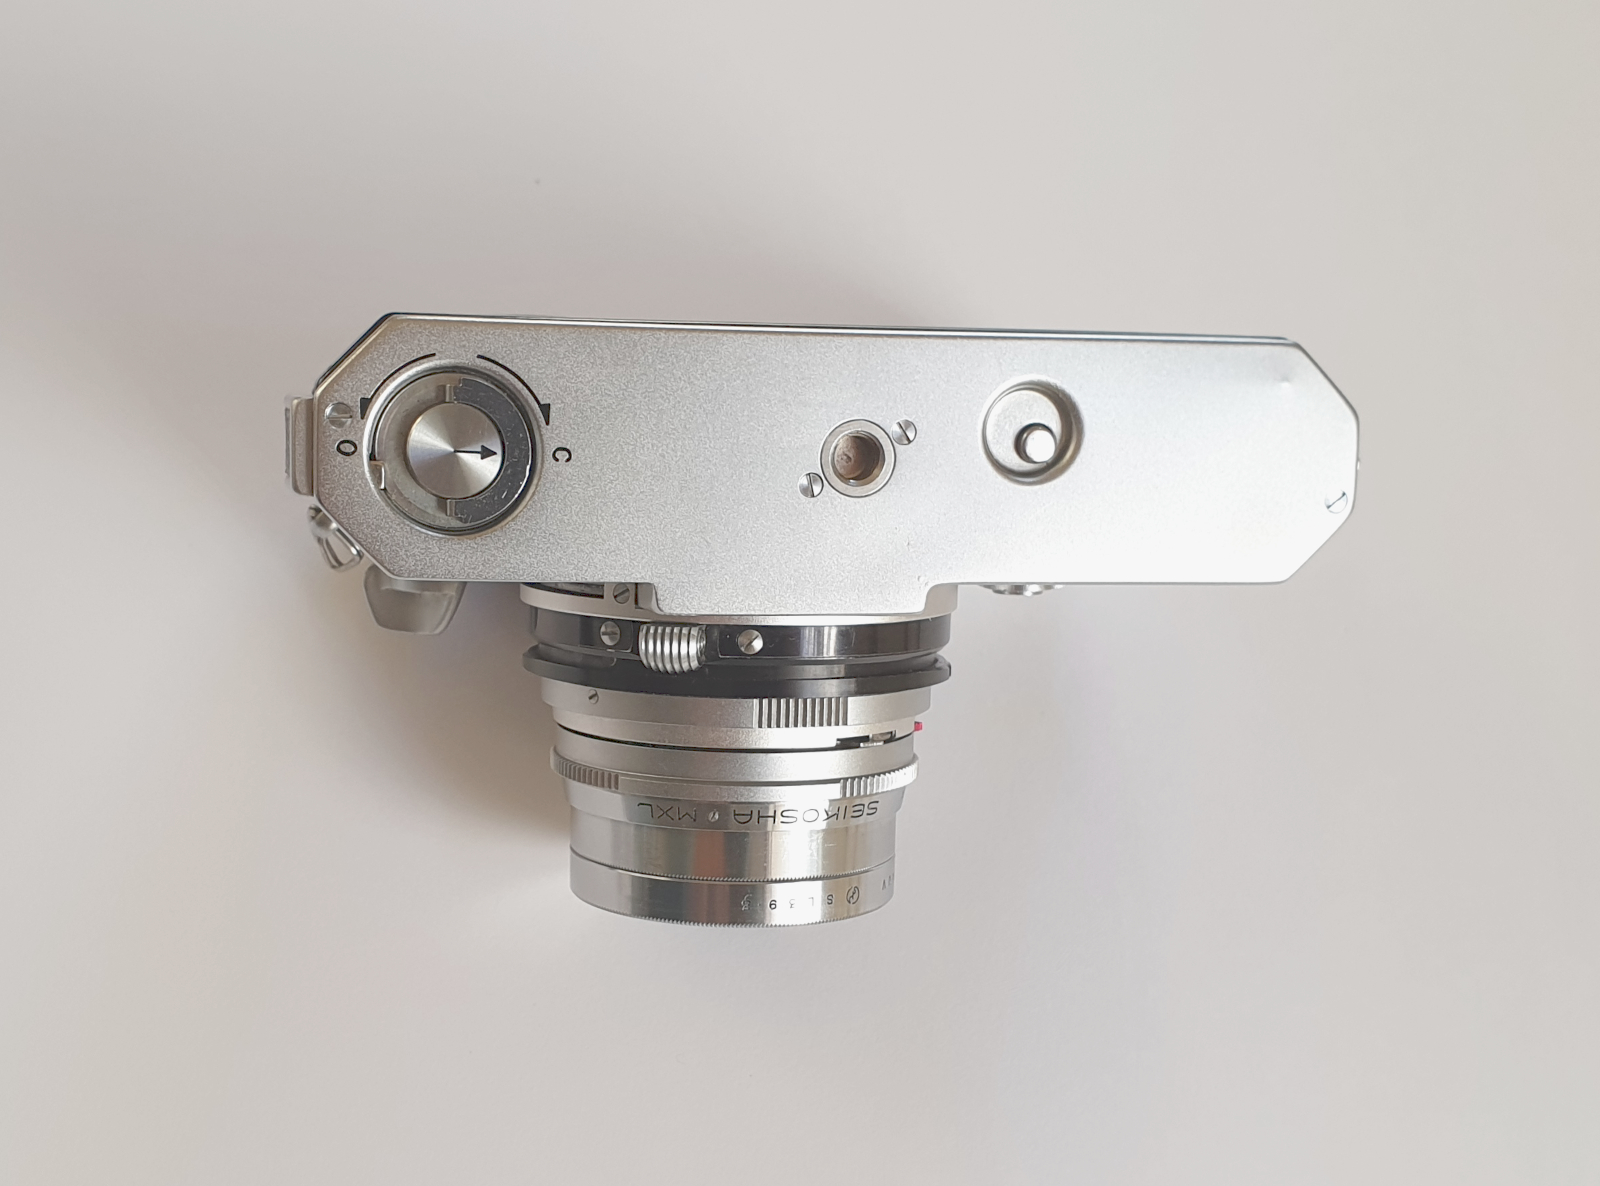
a Seikosha MXL leaf shutter. So quiet!.


It has been designed with an Ev lock system which apparently seems quite
controversial in online posts these days. So much so that people pay to have
it disengaged! Anyway, the black Ev ring is adjusted according to the Ev value
read from a separate light meter. With thumb and index finger push the Ev ring
towards the camera body and the ring is then easily rotated to set the Ev value
against a red triangle on the aperture ring. Adjusting this ring moves the
shutter speed ring and aperture ring in tandem so that each Ev setting has a
range of apertures versus corresponding shutter speeds. Basic photography surely,
so what's the problem? Even the sought after Hasselblad 500CM uses it! I actually
like it because it instils a sense of the amount of light available and what
you can actually do with it. It almost mechanises the sunny 16 rule. Push or
pull the film? Use your light meter in Ev mode and change the film speed to
give you a new Ev reading. Wide open aperture for pleasing bokeh? Just choose
the largest aperture that you can use with the maximum shutter speed of 1/500th sec.
It's just a different way of setting the camera which, to my mind, is is refreshing
and it will always give you a correct exposure provided you use the indicated
Ev value. The Seikosha leaf shutter has speeds 1, 1/2, 1/5, 1/10, 1/25, 1/50,
1/100, 1/250, 1/500 and Bulb and has an X sync for flash at all shutter speeds.
The aperture can be varied from f1.8 to f22.

Focussing is easy and precise with a knurled button underneath the lens body which
moves the lens body away or towards the camera body. The film advance lever is
positioned on the front of the camera next to the lens. It is depressed twice,
once to advance the film and the second to cock the shutter.
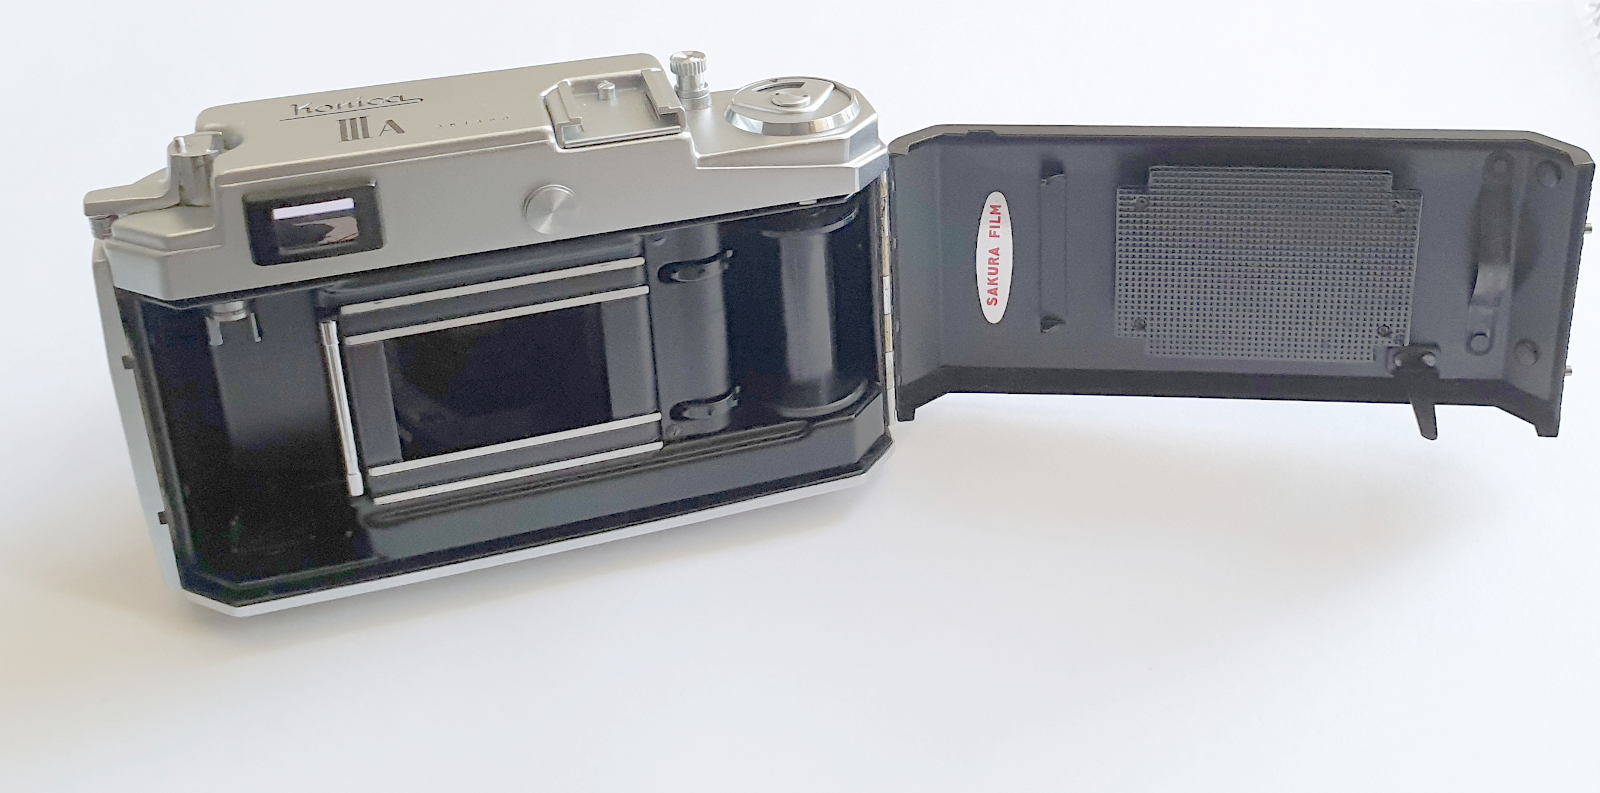
The camera back is secured by a keylock mechanism in the base. Lift the key ring and rotate to the 'O' position then press the key down to open the back. When the back is pressed shut the key ring is lifted and turned to the 'C' position which locks the back. Loading film is just like most other cameras. The film leader fits into a slot in the take up spool and the film is then advanced to ensure the sprocket holes engage with the sprockets. Close and secure the back. The take up spool will impart a tight curl on the film leader which can sometimes snag on the film pressure plate when rewinding. But this is not very different to many other cameras. Just open the back to release the film. You will already be at the start of the film so no images are at risk.
The camera back is secured by a keylock mechanism in the base. Lift the key ring and rotate to the 'O' position then press the key down to open the back. When the back is pressed shut the key ring is lifted and turned to the 'C' position which locks the back. Loading film is just like most other cameras. The film leader fits into a slot in the take up spool and the film is then advanced to ensure the sprocket holes engage with the sprockets. Close and secure the back. The take up spool will impart a tight curl on the film leader which can sometimes snag on the film pressure plate when rewinding. But this is not very different to many other cameras. Just open the back to release the film. You will already be at the start of the film so no images are at risk.
A very kind soul at Japan Vintage Camera has made a video showing how to service
the Konica 3A. After several views of the section on cleaning the rangefinder system
I had the courage to have a go myself. I made sure that I had all the right tools and
took my time. It was easier than I thought as the rangefinder prism was not glued in
place, unlike that shown in the video. In fact, it had never been glued in place.
Both rangefinder and viewfinder prisms are held in place by a sprung metal plate
with 3 screws. So, quite easy to get access to clean up both prisms, the rangefinder
mirror, all the glass windows and then re-assemble. The camera is now much easier
to focus as the centre focussing area in the viewfinder is sharp.
There was dust on the inside of the outer lens elements and so I removed the outer
lens assembly by releasing a tiny retaining screw on the underside of the outer ring.
The outer lens assembly can then just unscrew. The inner lens assembly incorporates
the shutter and aperture mechanisms which can be released by turning a retaining ring
inside the camera. The shutter was working perfectly and so this was left well alone.
If it ain't broke don't fix it! I think the rear door light seals will need replacing
at some point but at the moment I see no light leaks.
